Creating the mesh

Basic meshing is a two-stage operation: first you seed the edges of the part instance, and then you mesh the part instance. You select the number of seeds based on the desired element size or on the number of elements that you want along an edge, and Abaqus/CAE places the nodes of the mesh at the seeds whenever possible. For the cantilever beam tutorial the default seeding will generate a mesh with square hexahedral elements.

Related Topics
In Other Guides
The Mesh module
Advanced meshing techniques
Seeding a model
  1. From the main menu bar, select SeedPart to seed the part instance.

    The Global Seeds dialog box appears. The dialog box displays the default element size that Abaqus/CAE will use to seed the part instance. This default element size is based on the size of the part instance.

  2. In the dialog box, enter an approximate global size of 10.0 and click OK.

  3. Click Done in the prompt area to indicate that you have finished the seed definition.

    Abaqus/CAE applies the seeds to the part instance, as shown in Figure 1. You can gain more control of the resulting mesh by seeding each edge of the part instance individually.

    Figure 1. Seeding the mesh.
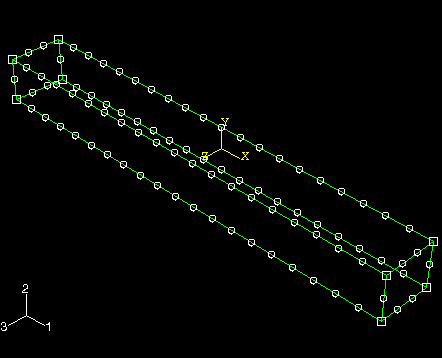
  4. From the main menu bar, select MeshPart to mesh the part instance.

  5. In the prompt area, click Yes to confirm that you want to mesh the part instance.

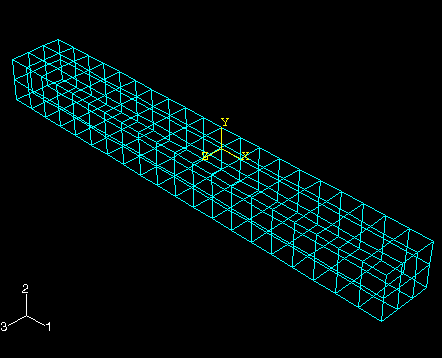
    Abaqus/CAE meshes the part instance and displays the resulting mesh, as shown in Figure 2.

    Figure 2. Meshing the part.