Creating profiles | |||||||
|
| ||||||
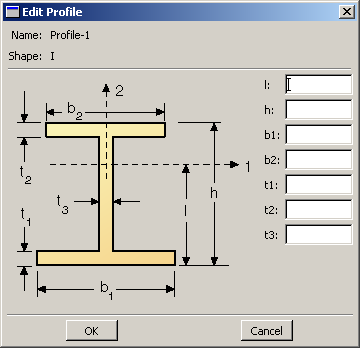
All profile editors display a diagram of the profile shape and text fields in which you can enter all of the data necessary to define the profile. For example, the I-shaped profile editor is shown in Figure 1. The editor contains a diagram of the I-shaped profile and data fields in which you can enter each dimension.
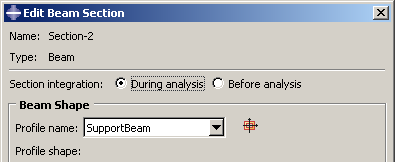
Once you have created a profile, you can refer to that profile in a beam section definition. For example, a box-shaped profile named SupportBeam is selected in the beam section editor shown in Figure 2.
For more information on profiles, see Defining profiles.