Context:
Note:
View cuts are also available throughout the other modules of Abaqus/CAE. They are illustrated here for convenience.
From the main menu bar, select .
In the dialog box that appears, accept the default name and shape. Enter 0,0,0 as the Origin of the plane (i.e., a point through which the plane will pass), 1,0,1 as the Normal axis to the plane, and 0,1,0 as Axis 2 of the plane.
Click OK to close the dialog box and to make the view cut.
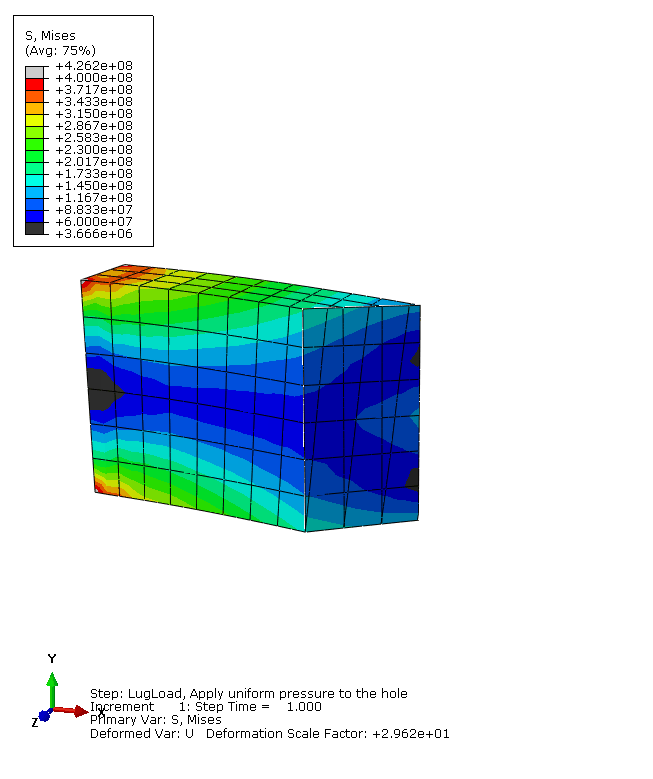
The view appears as shown in Figure 1.
Figure 1. Mises stress through the lug thickness.

From the main menu bar, select to open the View Cut Manager. By default, the regions on and below the cut are displayed (as indicated by the check marks beneath the on cut  and below cut
  symbols). To translate or rotate the cut, choose Translate or Rotate from the list of available motions and enter a value or drag the slider at the bottom of the View Cut Manager.
To view the full model again, toggle off Cut-4 in the View Cut Manager.
For more information on view cuts, see Cutting through a model.