The Validation System is a Copy of the initial
Analysis System. Mesh Controls have been deleted to make the solid meshing
possible. Forces, boundary conditions and other options, too, have
to be reassigned again, due to the changed Geometry. Go through the items
of the Tree Outline and reselect the corresponding Faces etc.
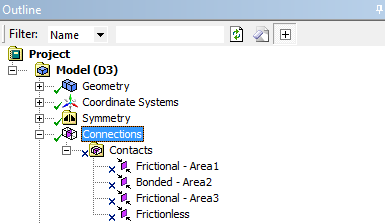
If there are Contacts with Type unlike Bonded
in your Model, they won’t be copied properly into the Validation System,
since Mechanical creates new (Bonded) Contacts automatically. Therefore,
the Contact Definitions have been saved when you have clicked .
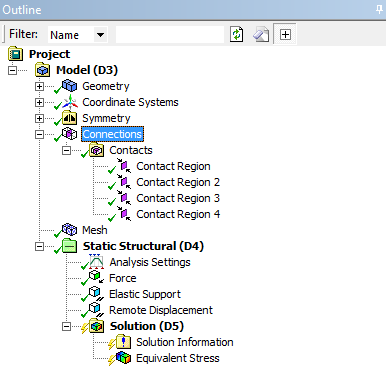
To reload the saved Contact Definitions, select Connections
in the Tree Outline of the Validation System:
Click
to restore the intial contact definitions.
This step deletes the existing
Contacts in the current Validation Analysis and creates new ones based
on your initial settings. Importing contacts might take a few seconds
and is finished as soon as you can see the new names in the Tree
Outline.
After importing, you have to unsupress the Contacts and
reassign the Geometry (Source and Target faces).
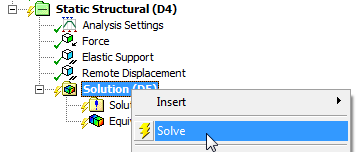
As soon as the Geometry is reassigned, the
Validation Model can be solved: Right-click .
Note:
If
you have several Analysis Systems, you have to import contacts and
reassign the Geometry for each analysis, since they are not shared.