Recreating Faces using Virtual Topology | ||
| ||
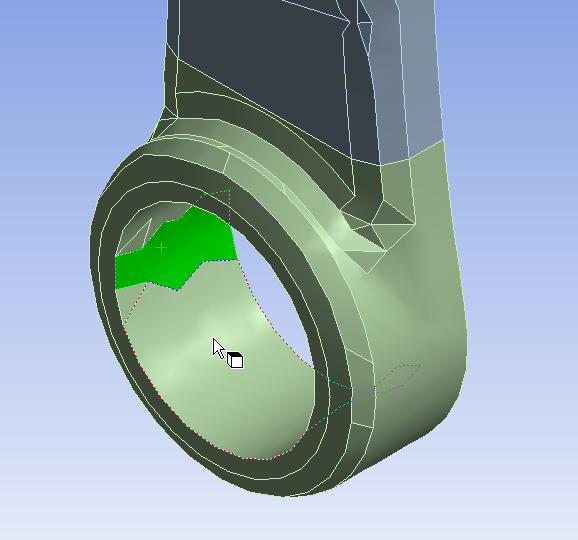
Select multiple faces to recreate your initial face selection.

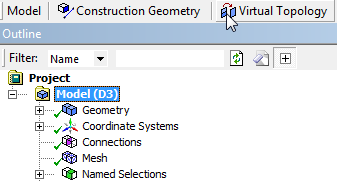
Select Model in the Tree Outline and click on Virtual Topology in the upper Toolbar:
To create a vertex on an edge, activate the Edge-Selection-Tool as shown in the following figure:
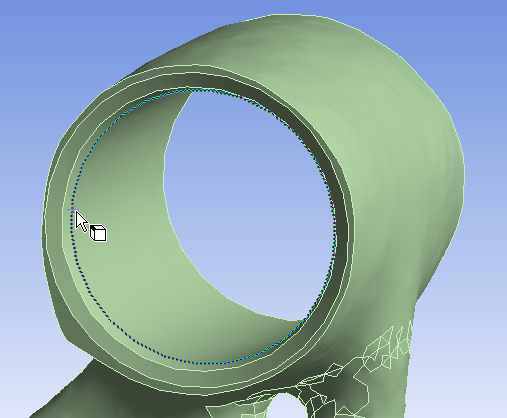
Click on the location where you want to split and press Split Edge at + button in the Virtual Topology Toolbar.
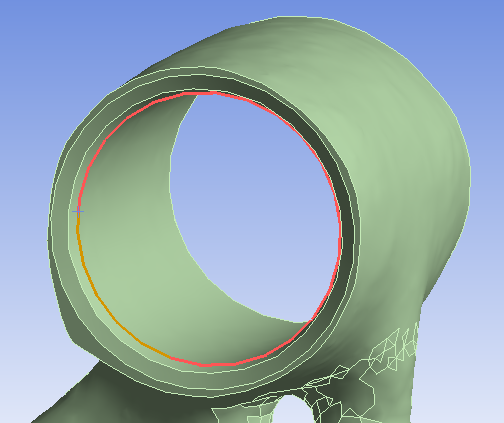
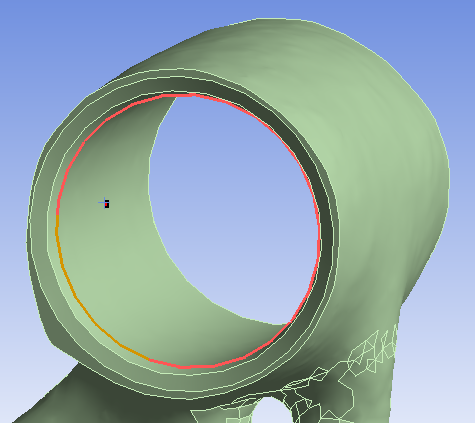
The different colors of the edge symbolize that there are two edges with a new vertex.
To create a vertex somewhere on a face, activate the Face-Selection-Tool and click on the location where you want to create the new vertex.

Click on Hard Vertex at + button in the Virtual Topology Toolbar.
To split a face, select two vertices with Vertex-Selection-Tool and click Split Face at Vertices.
